DigitalOcean Setup Guide
Create an account here for free $200 credit
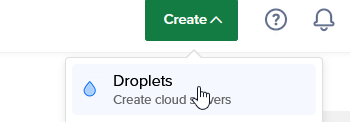
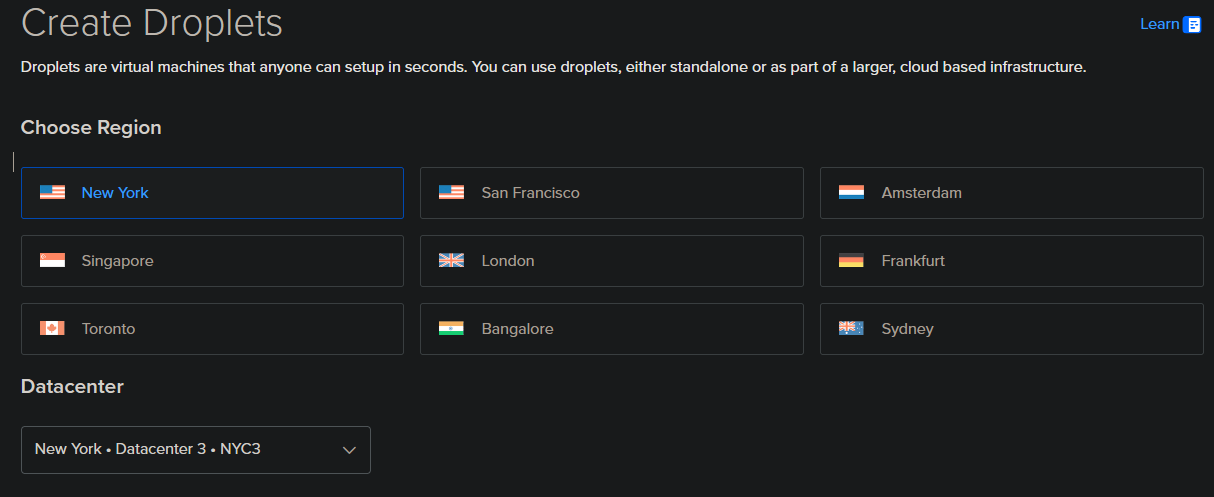
Create a Droplet (VPS)
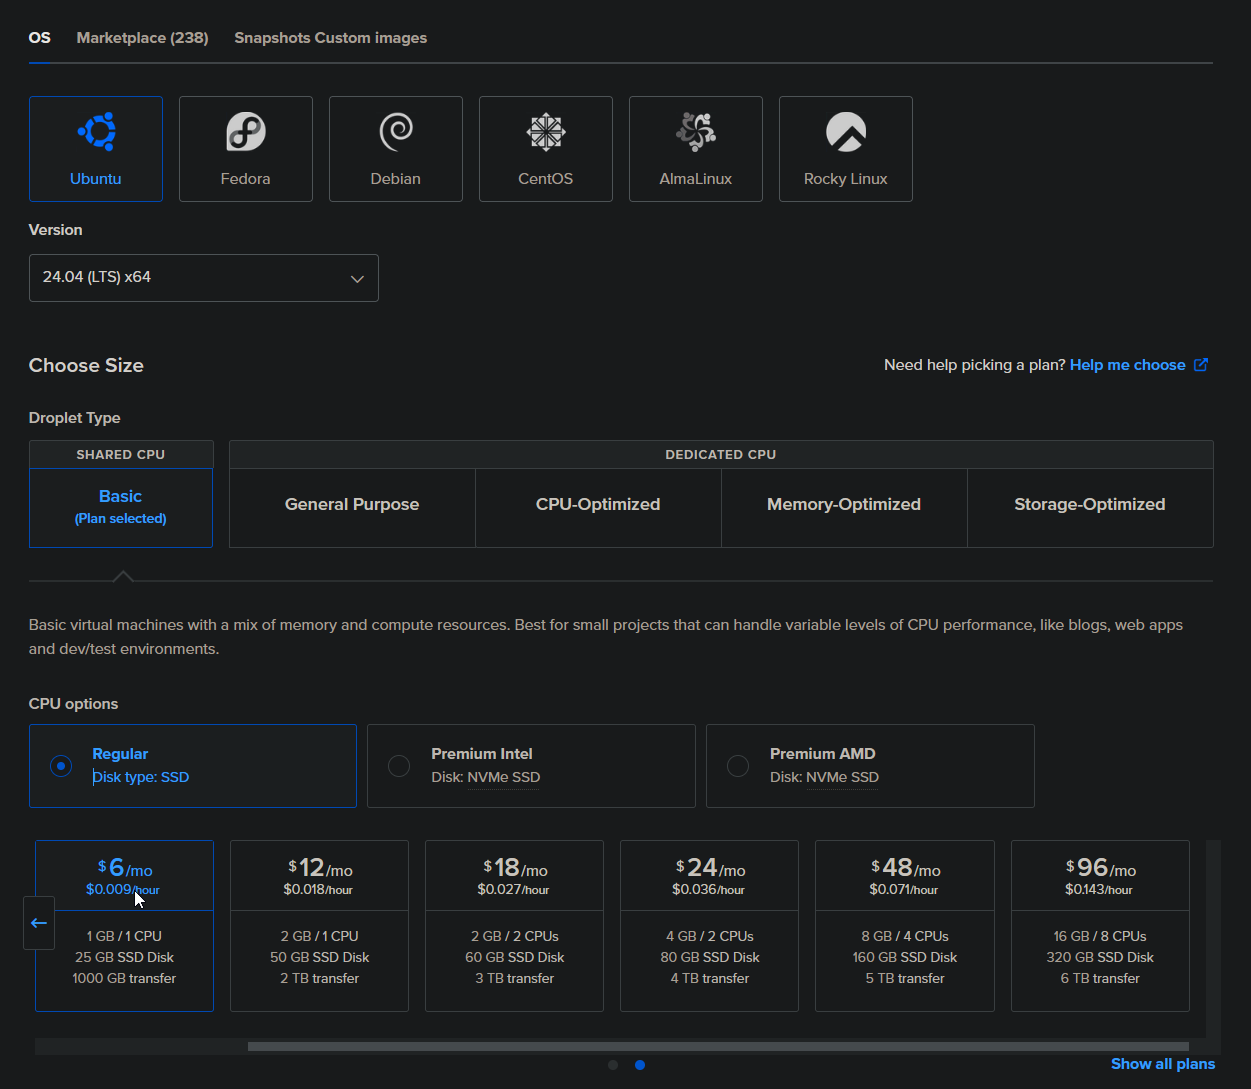
Select OS and Specs
Select New York (any datacenter) for lowest ping to 2b2t and best connection reliability
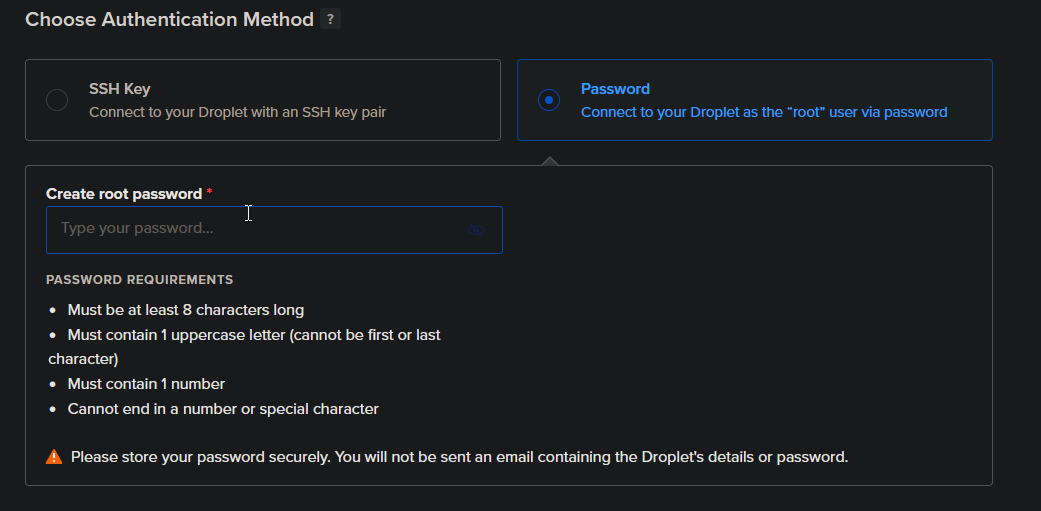
Setup Authentication
Set a password, or an SSH key if you are familiar with them
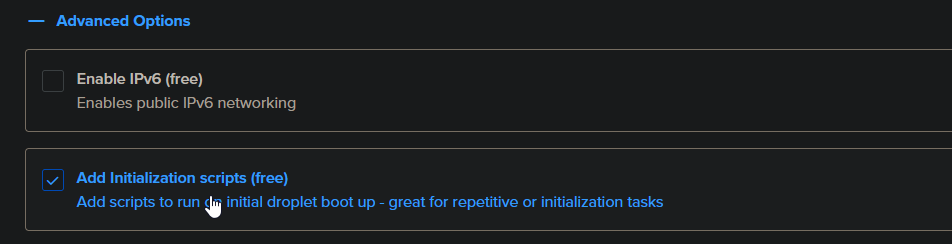
Click Advanced Options

Click Add Initialization Scripts
Copy Paste the Setup script
Script link: https://github.com/rfresh2/ZenithProxy/blob/1.21.4/scripts/cloud-init.yaml

The setup script will automatically download the ZenithProxy launcher to ~/ZenithProxy, and install recommended tools like tmux.
Create Droplet

Wait about 5-10 mins for the droplet to fully setup before proceeding.
SSH to the droplet
Find and copy the droplet's IP address on the DigitalOcean homepage

I recommend using Windows Terminal
Open the terminal and type:
ssh root@<IP>

After, it will prompt you for a password if one is set.
If so, type the password and press enter. The password input is hidden while you are typing.
Setup and Launch ZenithProxy
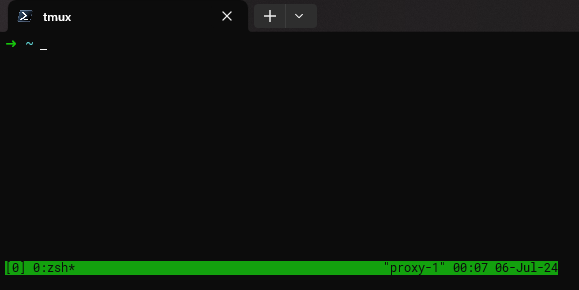
Start a tmux session:
tmux
If you did this successfully you should see a big green bar appear at the bottom
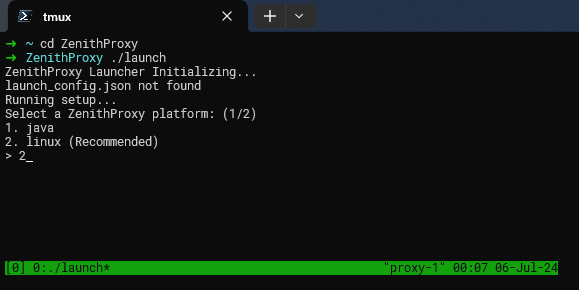
Change directories to the ZenithProxy folder:
cd ZenithProxy
Run the launcher:
./launch
During setup, select the linux platform:
Complete the rest of the setup and you're done.
Refer to the other documentation pages for further help:
for tmux help see: https://tmuxcheatsheet.com/